Foundation can be a real nightmare. You know the feeling: it looks cakey, uneven, or fades faster than you’d like. It’s frustrating, right?
I get it. That’s why I put together this flawless foundation tutorial. This guide doesn’t just skim the surface; it dives deep into a step-by-step approach for achieving that smooth, natural look we all crave.
Trust me, I’ve spent years analyzing beauty trends and creating tutorials that actually work. I’m here to share actionable techniques that go beyond the basics.
Mastering foundation application is a skill that can change the game. It builds confidence and helps you put your best face forward. By the end of this article, you will have the important knowledge to tackle your foundation fears and achieve truly flawless results.
Let’s get started and open up your potential for that perfect foundation finish!
Perfect Match: The Art of Foundation
Finding the right foundation is like finding a needle in a haystack. Yet, it’s the first step to perfection. Ever tried the vein color test?
Look at your wrist. If your veins appear blue, you’re cool-toned. Green veins?
You’re warm. Can’t decide? You’re neutral.
Jewelry helps too. Silver suits cool tones, gold suits warm.
Foundation shade matching is tricky. Test it on your jawline in natural light. Wait a few minutes.
Let it oxidize. Some brands just love to change color (I know, right?).
Let’s talk formulas. Liquid is versatile, but oily skin might prefer powder. Creams are for dry skin.
Sticks offer convenience. Serum foundations? Perfect for mature skin.
Want a matte or dewy finish? Know your skin type before choosing.
Coverage is another beast. Sheer gives a natural look. Medium is a balance, while full coverage hides everything.
Personal preference rules here. Need more tips? Check out makeup application simple for more guidance.
A flawless foundation tutorial isn’t just about makeup. It’s about enhancing your natural beauty. You’re not alone in this journey.
We’ve all been there, hunting for that perfect match.
The Canvas Prep: A Must for Perfect Foundation
Let’s get right to it. Preparing your skin is a non-negotiable step if you want a flawless foundation. No one wants patchy skin, right?
Start with a gentle cleanser to remove impurities. Why? Because a clean face is like a blank canvas for makeup.
Next, moisturizing is key. Tailor it to your skin type. Dry skin needs hydration, oily skin needs balance.
Let it absorb fully (patience,) my friend. Then comes the primer, an often overlooked hero. Choose wisely: hydrating for dry skin, mattifying for oily, pore-filling for smoothness, or color-correcting if you’ve got discoloration.
The sequence matters: cleanse, moisturize, then prime.
In this flawless foundation tutorial, timing is key. Give each product a few minutes to sink in. Rushing leads to disaster (and no one wants that).
Pro tip: Don’t skip waiting time. Your makeup will last longer and look better. Bottom line?
Proper prep transforms your foundation game entirely. Ready to revolutionize your routine? Believe me, your future self will thank you.
Mastering Your Tools: Brushes, Sponges, or Fingers?
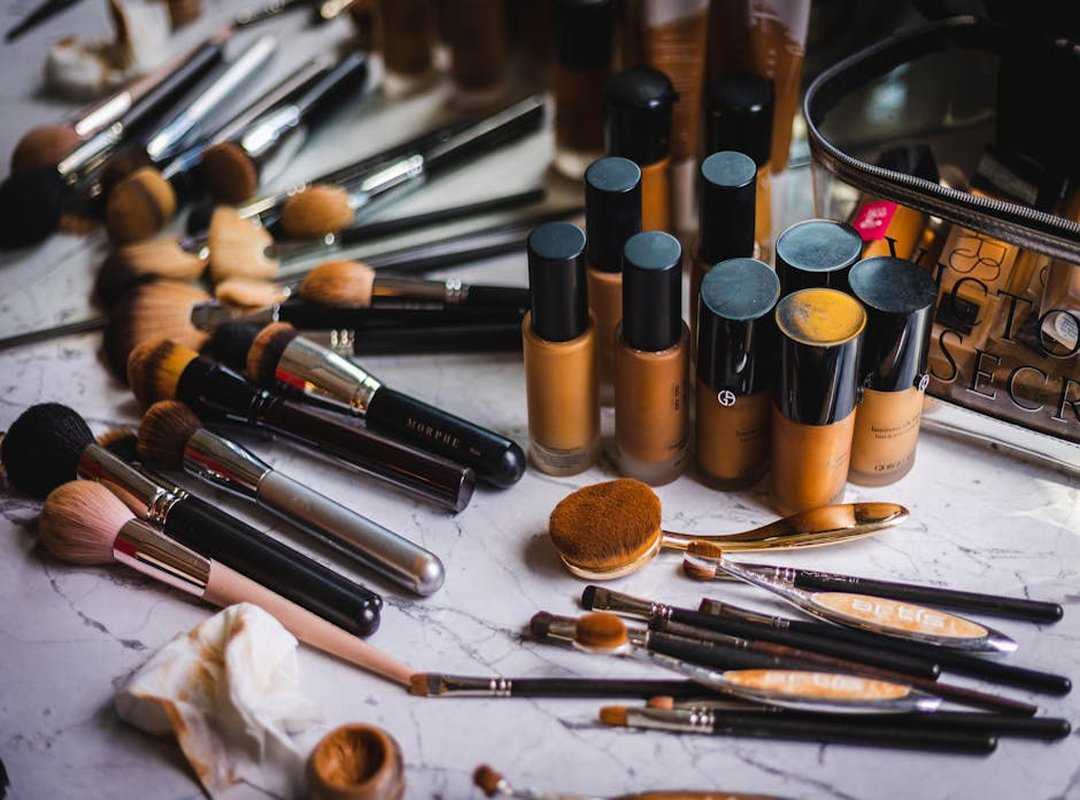
When it comes to foundation application, I’ve tried it all. Each tool gives a different finish and level of control. You might think, “Does it really matter?” Yes, it does.
Foundation brushes are my go-to for full coverage. A flat top brush works wonders for a dense, even coat. Buffing brushes? They blend seamlessly. Stippling brushes? They give that airbrushed look with sheer-to-medium coverage.
Beauty sponges, though, are a game-changer. Dampening them is key (pro tip: use warm water). The bouncing motion helps achieve a natural, dewy finish.
It might sound like a workout, but trust me, it’s worth it.
Then there are fingers. Perfect for a quick, sheer application. They warm the product, but beware of streaks.
It’s not for everyone, but in a pinch, it works.
Choosing the right tool depends on your desired coverage, foundation formula, and personal comfort. Hygiene is non-negotiable. Dirty tools lead to breakouts.
Who wants that?
For more DIY Facial Techniques Home, check out the full tutorial. Remember, practice makes perfect in this flawless foundation tutorial.
Foundation Done Right: Achieving a Natural Look
Let’s dive into the meat of a flawless foundation tutorial. Start light. Less is more when it comes to makeup, particularly foundation.
Begin with a tiny amount and target the center of your face. Why? Because we usually need coverage the most.
Focus on the forehead, nose, and chin.
Blend outward. Seriously. Don’t just slap it on and call it a day.
Use light dabs or strokes (not heavy-handed swipes) from the center out to your jawline and hairline. The goal is to make it look like your skin, but better (no) harsh lines allowed. Use a brush, sponge, or even your fingers, whatever feels right for you.
It’s tempting to pile it on for those stubborn spots, but resist. Build coverage gradually. Layering is key for blemishes and redness.
Light dabs. Step back and assess before adding more. You don’t want to end up looking like a cake.
For tricky areas (I’m) talking around the nose and under the eyes. Use less product. many of us go wrong. It’s important to blend into the neck and ears.
Trust me, you’ll thank yourself when the lighting changes.
Speaking of lighting, check your work in different scenarios. Natural, harsh, and soft lighting all reveal different things. Spot a missed patch?
Grab your tool and blend again. It’s like cleaning up after a party. You’ll always find something you missed.
For more on perfecting your technique, check out this detailed guide. It offers tips straight from the pros. You’ll be a foundation expert in no time.
Locking It In: Strategies for Long-Lasting Foundation
Foundation fading? It’s a universal gripe. But a flawless foundation tutorial can help.
Let’s get right to it. First, setting powder is key. Apply it to your T-zone and under your eyes.
Loose powder gives a soft finish, while pressed powder is more precise. Don’t overdo it. You want a natural look, not a mask.
Ever heard of “baking”? It’s not just for cookies. It’s a makeup trick to control oil and brighten.
Apply a thick layer of powder to specific areas, let it sit, then dust it off. You’re left with smudge-proof makeup. Quick and easy, right?
Setting sprays are your best friend. They come in hydrating, mattifying, and long-wear types. Spray and forget.
It fuses your makeup, making it last. For touch-ups, blotting papers absorb oil without disturbing your base. A light hand with powder keeps everything in check.
In makeup, less is more. Too much product can look cakey. Stick with these techniques, and you’ll keep that fresh face all day.
Who doesn’t want that?
Step Into Your Radiance
You now have a solid grasp of the flawless foundation tutorial. Remember that initial frustration of uneven foundation? That stops today.
By applying these expert-backed techniques. From choosing the right products to flawless application (you) can finally achieve that natural look.
Practice makes perfect. Experiment with different tools and find what works best for your skin.
Don’t shy away from trying new products.
Step out with confidence, knowing your foundation enhances your natural beauty. You deserve it.
No more doubts or second-guessing.
Take charge of your beauty routine today.
Master these techniques and watch your makeup game raise.
If you’re ready to showcase your radiance, start now. Your flawless foundation awaits.