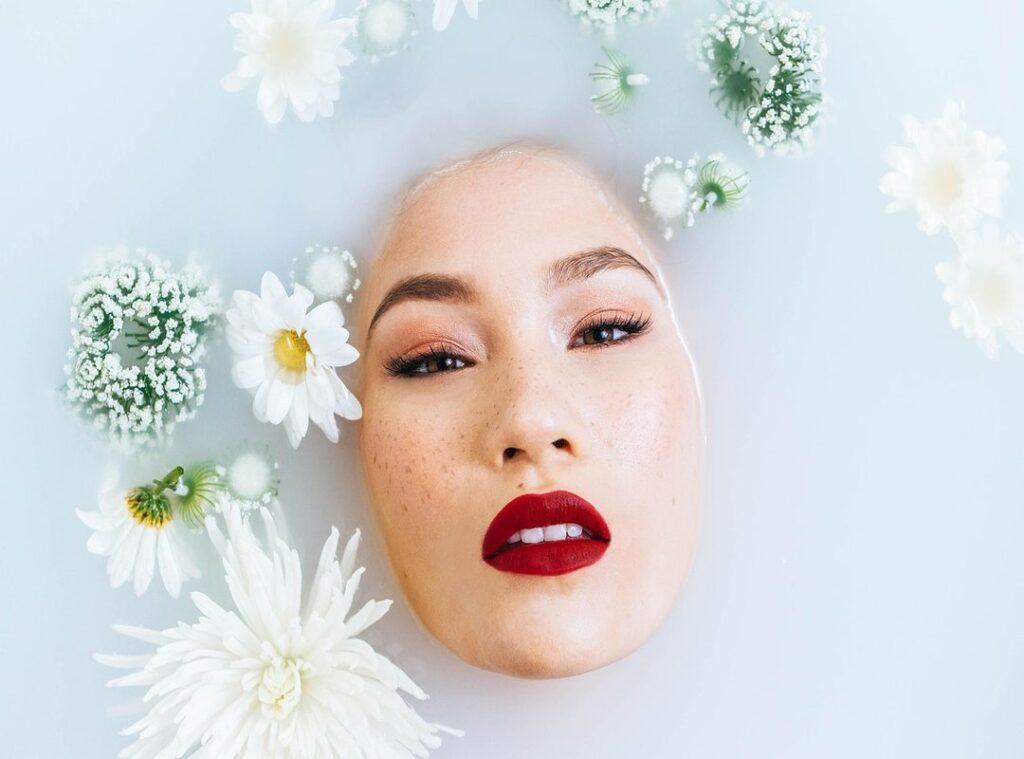
Contouring can be overwhelming. Do you struggle with techniques that seem too complicated? Are you tired of ending up with an unnatural look?
You’re not alone.
This article is here to transform your inconsistent contouring attempts into a confident and flawless technique that enhances your natural beauty.
I’ve distilled years of hands-on beauty expertise into this guide. You’ll find proven methods that actually work.
We’re not just slapping on makeup here. This is a full learning journey to mastering contouring techniques. I’ll break it down into clear definitions, practical steps, and expert explanations.
Expect a direct, actionable guide that goes beyond generic advice. I’ll give you the specific knowledge needed to sculpt with precision and artistry. By the end, you’ll feel equipped and empowered to raise your skills.
Let’s get into it and make contouring less of a mystery. You deserve to feel confident in your makeup application.
Defining Depth: Contouring vs. Highlighting and Bronzing
Let’s get straight to it. Contouring is all about using darker shades to create shadows. This artistry lets you recede features and add dimension.
Think about the hollows of your cheeks, jawline, temples, and sides of your nose. contouring typically shines (or rather, doesn’t shine). It’s like sculpting your face without a chisel.
Highlighting, on the other hand, is the opposite. It’s how you bring features forward and add some luminosity. You’re emphasizing what you want to pop, like the tops of your cheekbones, the bridge of your nose, and your Cupid’s bow.
Now, where does bronzing fit in this picture? Unlike contouring, which is about structure, bronzing is about warmth. It gives you that sun-kissed glow.
You know, the one you get after a day at the beach without the UV rays.
Why bother with contouring anyway? It enhances the natural bone structure and can create illusions of symmetry. Plus, it adds depth to what might otherwise be a flat foundation base.
Mastering contouring techniques can be your secret weapon for perfecting that chiseled look.
Does this sound like magic? Maybe. But it’s really just makeup mastery.
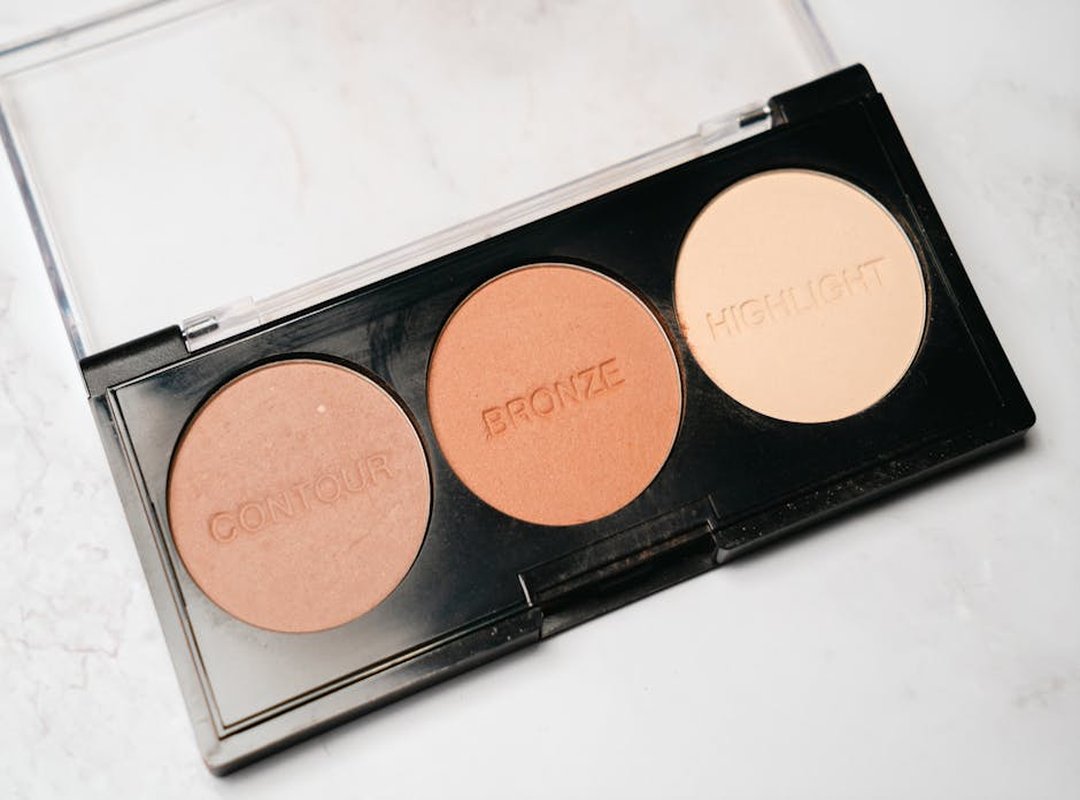
Contouring Essentials: Your Guide to Perfect Products and Tools
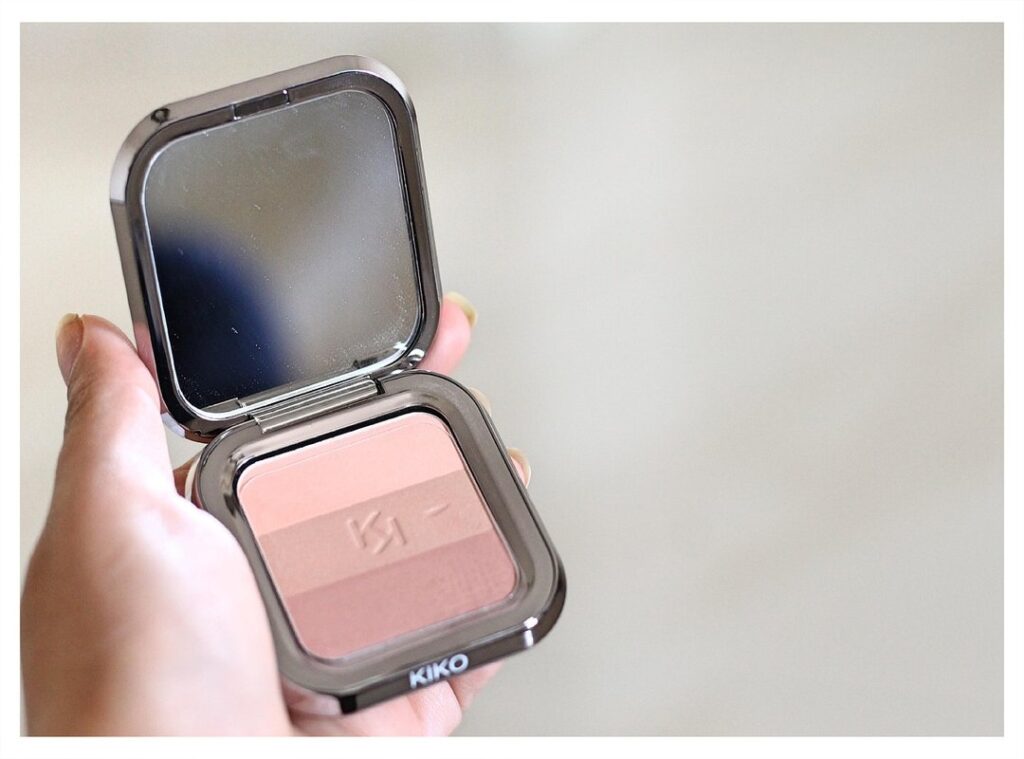
Choosing the right contour products can be overwhelming, but it doesn’t have to be. Creams, liquids, and powders each have their own charm. Creams are great for dry skin, delivering a smooth, natural finish.
Why not a powder? Well, powders are your friend if you have oily skin since they give a matte look. Liquids offer a dewy finish, perfect for combination skin types.
Now, let’s talk shades. Stick to cool tones, and aim for two to three shades darker than your natural skin tone. Avoid anything too warm or orange.
Trust me, looking like a sunset isn’t the goal here.
What about brushes? An angled contour brush is perfect for powders. For creams or liquids, you’ll want a dense buffer brush.
Contouring your nose? A small tapered brush is your tool. And don’t underestimate the power of a beauty blender for that flawless blend.
Here’s a pro tip: Always layer creams or liquids before powders. It sets the makeup and intensifies the look. Ready to master these techniques?
Check out our makeup for events pro tips to raise your skills even further!
Sculpting Your Canvas: Contouring for Every Face
Let’s talk face shapes. It’s time to ditch the one-size-fits-all contouring map. The real deal in mastering contouring techniques is understanding your unique face shape.
Ever wondered why your contour doesn’t hit the mark? Maybe because you’re not sculpting for you.
Identifying your face shape is step one. Stand in front of a mirror, pull your hair back, and trace your outline with soap or lipstick. Got it?
Now, let’s break it down. Oval faces, rejoice. You’re already rocking a balanced structure, so keep it minimal.
A touch under the cheekbones and temples is all you need.
If you’ve got a round face, it’s all about creating angles. Contour those cheekbones and jawline like you’re chiseling a statue. For a square face, soften those angles.
Hit the jawline corners and temples, blending like your life depends on it.
Heart-shaped faces need balance. Focus on temples and under the cheekbones with a slight chin contour. Long faces?
Shorten the appearance by contouring the hairline and chin. Add horizontal cheekbone contour for good measure.
Blending is where many go wrong. For cheeks, blend up and out. For noses, blend down and in.
Smooth transitions are key here. No one wants to look like they’ve got stripes on their face.
Pro tip: Use a damp sponge or a fluffy brush for blending. It makes a world of difference. Want more on mastering contouring techniques?
Dive into the details and perfect your skills.
Remember, contouring isn’t about changing who you are. It’s about enhancing what you’ve got. Get out there and sculpt your canvas like the masterpiece it is.
Mastering Contouring: Beyond Basics
Let’s talk advanced contouring. You think you’re done after a basic blend? Think again. Reverse contouring is a game-changer.
Apply highlight first, then those contour lines. Boom, sharper lines. Ever tried baking under contour?
It’s like giving your cheekbones a little vacation under a warm sun (but make it powder).
Now, about that nose. Slimming, shortening, or straightening (use) precise lines and blend like your life depends on it. Who needs surgery when you have contour magic?
And for the jawline, let’s create a double chin illusion. Contour under the chin and blend it out. Your profile will thank you.
Don’t forget subtle contouring. Collarbone for that formal dress? Yes, please.
Forehead for specific hairstyles? Absolutely. And what about the ‘soft glam’ vs. ‘dramatic’ debate?
Adjust the intensity. Day at the office versus a night out? You know the drill.
Curious about more this guide? It’s worth a peek.
Pro tip: Always step back and assess. Too much contour can turn you into a Picasso painting, and that’s not the goal. Contouring is an art, and with these techniques, you’re well on your way to mastering contouring techniques.
Troubleshooting and Longevity: Keep It Flawless
Let’s talk about mastering contouring techniques. You know those harsh lines? They’re your worst enemy.
It’s like makeup’s version of Ctrl+Z.
Use a clean brush to blend them out. If you picked the wrong shade, don’t panic. Correct it with foundation or concealer.
Now, about that contour that vanished by lunch. Layer your products. Primer, then contour, then a setting spray.
Maybe a light dusting of powder if you’re feeling fancy. It’s like armor for your face.
And if it fades? Don’t start over. Dab some foundation to fix it.
Experimenting is key. Practice until your contour game is as strong as your coffee habit.
Remember, even the pros mess up. (They just know how to fix it fast.) Keep at it, and you’ll get there. Who said beauty is easy? But when you nail it, it’s like magic.
So, ready to dive in?
Your Path to Flawless Contouring
You now have the skills to go beyond basic application. Feeling lost is a thing of the past. Embrace your unique features and the right tools.
Start mastering contouring techniques today. Grab your brushes, practice, and watch your confidence (and cheekbones) soar! Share your perfected looks with others.